Custom Size Insert Braai

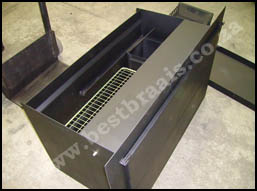
CUSTOM INSERT BRAAI INCLUDES:

• Steel Body: Of Chosen Material
• Ember maker – (If Size Permits)
• Braai Grid – (304S/s)
• Potjie hook – (Hang Cast iron Pot)
• Light fitting – (Evening Entertaining)
• Ashpan – ( Distribution of Embers)
• Ash removal tray – ( Easy Cleaning)
• Ash trap – ( Easy Cleaning)
• Double doors – ( Neat when closed)
• 2 x Chains – ( support work space)
• 5 year limited manufacturer’s warranty(excludes surface discolorations)
• Product Price Excludes Installation

IMPORTANT!!
Please Read “How To Measure” Below Prior to Submitting This Inquiry.
Please Enter All measurements in Millimeters (mm)

Custom Products Form

  • Please enter the measurements of your brick braai opening in the below fields - all in millimeters.
 

Verification

Description

Custom Size Insert Braai

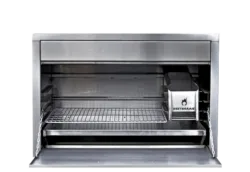
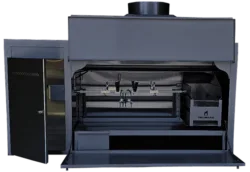
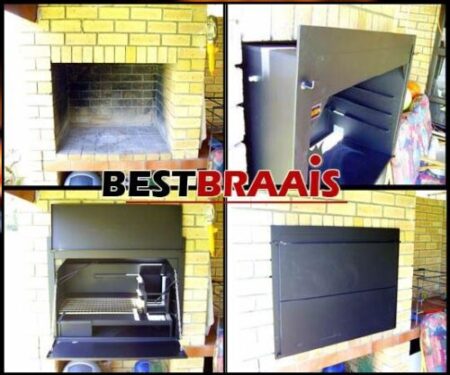
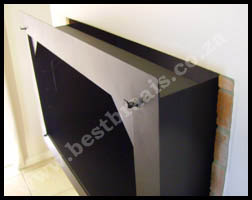
Design your own custom size insert braai and transform your existing brick braai into a functional culinary space.  This custom braai simply slots into your existing brick braai cavity, offering a practical solution for most braai enthusiasts . Whether you’re grilling meats, cooking a traditional Potjie, or preparing a stir-fry, this convenient braai option is your ultimate companion.

Custom Made Insert Braai – Rigid Steel Structure for Durability

Crafted with a rigid steel structure, the Insert Braai offers long-lasting durability and stability. Its high-quality ember maker construction ensures it can withstand the heat from wood or charcoal fires, making it a reliable choice for any braai setting.

Looking for a standard-size or table top model instead? Read about our braai insert options for existing brick braais.

How To Measure

How To Measure Your Brick Braai:

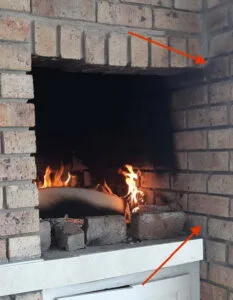
All measurements must be taken from various places inside your existing brick braai to establish if your Brick cavity runs straight & does not narrow-in, in certain areas
EG.
Fig.A – Left to Right – will be measured;
Bottom, Middle and Top
– then –
At the Back wall of your braai: Bottom, Middle and Top
You will use the smallest of these measurements taken.
This can be applied to the other measurements as well.


Enter your measurements

Now that you have all the relevant sizes for your Custom Insert Braai,
you can enter each measurement to it’s corresponding field above
– remember to use the smallest measurement of the three for each side taken.


Things To Note:

Notes can be entered into the “Additional Message” section above.

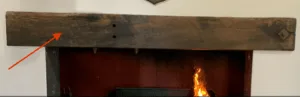
Are there any lintels / beams protruding out from the braai opening?
If yes, by how much & is it top or bottom or both?

Does either side of your braai cavity run flush with a wall? If yes, left or right?


Check if you currently have a light fitting installed, if situated below the top lintel this may have to be moved / removed in-order for your braai to slot in.
Please let us know on which side the light fitting is situated when Facing the braai cavity.

Check for any bricks or plastering inside your cavity that protrudes drastically inwards – this might prevent your insert from slotting in.


You may also like…